Quickstart
To get started with building applications on Tailor Platform, you can log in to Tailor Console. The console is your gateway to enhanced development capabilities. Start by creating a workspace and deploying an application with just one click using the templates. You can explore and analyze data models, visualize pipelines, and use the interactive playground to run queries with ease. With 1-click deployment, you can quickly deploy template applications without manual setup, allowing you to focus on evaluating the platform’s capabilities.
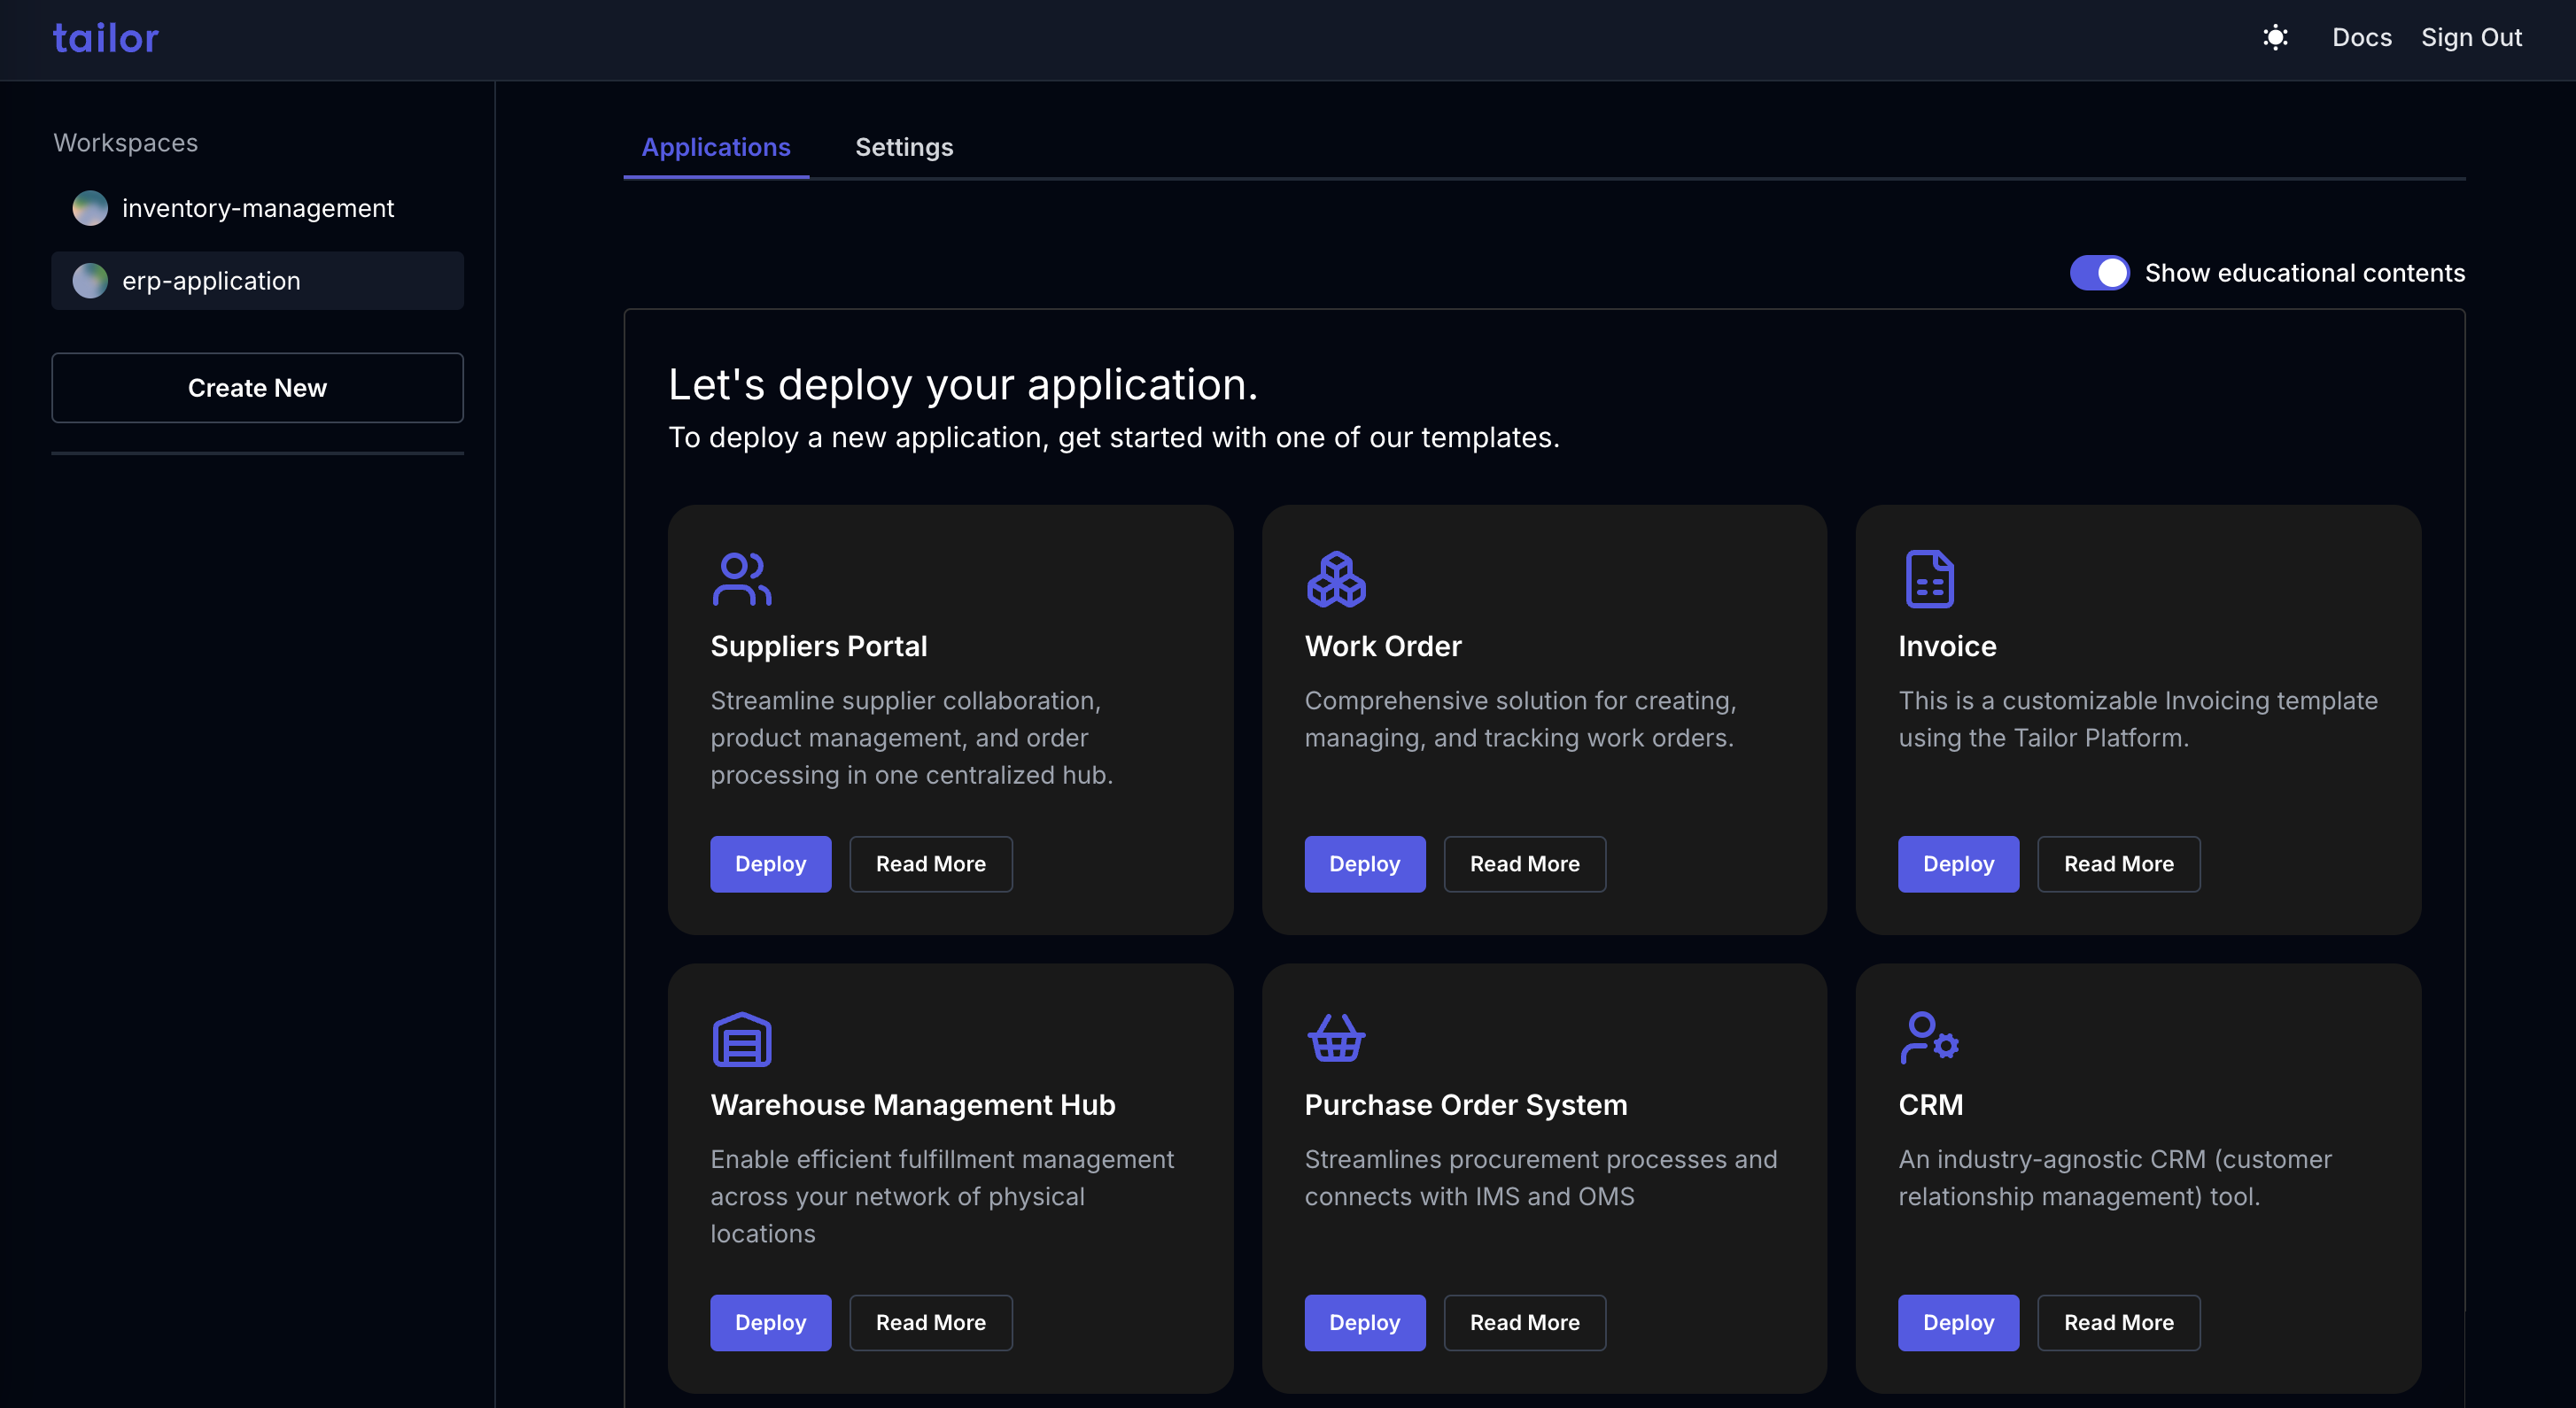
Here is a quick look at the console.
In this quickstart tutorial, you'll create an Inventory Management System using one of our app templates. Follow the steps below to get started.
Prerequisite
You'll need a Tailor account to start using the Tailor Platform. Contact us here to get started.
For Windows users, please follow the steps below to get started:
-
Install
tailorctl: Visit the Tailorctl release page.
Download the latest version oftailorctlfor the Windows operating system. -
Install Cue: Visit the Cue release page.
Download the latest version of Cue for the Windows operating system that matches your CPU architecture. -
Add to PATH: Once you have downloaded these files, place the
.exefiles in a directory that is included in your system's PATH environment variable. This will allow you to run the executables from any command prompt or PowerShell session.
1. Log in to the Tailor Platform with SSO.
Run the following command to log in to the Tailor Platform using your account information:
<span><span style="color: var(--shiki-token-function)">tailorctl.exe</span><span style="color: var(--shiki-color-text)"> auth login</span></span>
<span></span>
Once you run this command, your browser will open and you'll be prompted to log in to the Tailor Platform with your SSO account. Please sign in with your email address and password. Your initial password has been sent to you upon account creation. If you haven't received it, please check your spam folder or contact us for assistance.
2. Create a workspace in Tailor Platform
To build your application with Tailor Platform, start by creating a workspace on the platform.
<span><span style="color: var(--shiki-token-comment)"># Replace ${your_workspace_name} with the desired values.</span></span>
<span><span style="color: var(--shiki-token-function)">tailorctl.exe</span><span style="color: var(--shiki-color-text)"> workspace create </span><span style="color: var(--shiki-token-keyword)">--</span><span style="color: var(--shiki-color-text)">name ${your_workspace_name} </span><span style="color: var(--shiki-token-keyword)">--</span><span style="color: var(--shiki-color-text)">region us</span><span style="color: var(--shiki-token-keyword)">-</span><span style="color: var(--shiki-color-text)">west</span></span>
<span></span>
Note: Currently, we support two regions us-west and asia-northeast.
3. Clone our app templates
Tailor provides a template of the application. Clone the templates repo and navigate to the application directory.
For Windows users, please follow the steps below to get started. If you don't have Git, please visit official Git website. Click on "Download" and select the Windows version.
<span><span style="color: var(--shiki-color-text)">git clone https:</span><span style="color: var(--shiki-token-keyword)">//</span><span style="color: var(--shiki-token-function)">github.com</span><span style="color: var(--shiki-token-keyword)">/</span><span style="color: var(--shiki-color-text)">tailor</span><span style="color: var(--shiki-token-keyword)">-</span><span style="color: var(--shiki-color-text)">platform</span><span style="color: var(--shiki-token-keyword)">/</span><span style="color: var(--shiki-color-text)">templates.git</span></span>
<span><span style="color: var(--shiki-color-text)">cd templates</span><span style="color: var(--shiki-token-keyword)">/</span><span style="color: var(--shiki-color-text)">ims</span></span>
<span></span>
4. Generate app configuration
To generate configuration files, let's first synchronize the local cue.mod files with tailorctl.
Then, generate a UUID and inject it into environment/env.cue. This UUID will be used to seed data into the application.
<span><span style="color: var(--shiki-token-function)">tailorctl.exe</span><span style="color: var(--shiki-color-text)"> manifest tidy</span></span>
<span><span style="color: var(--shiki-color-text)">(</span><span style="color: var(--shiki-token-function)">Get-Content</span><span style="color: var(--shiki-color-text)"> </span><span style="color: var(--shiki-token-keyword)">-</span><span style="color: var(--shiki-color-text)">Path </span><span style="color: var(--shiki-token-string-expression)">"environment\env.cue"</span><span style="color: var(--shiki-color-text)">) </span><span style="color: var(--shiki-token-keyword)">-replace</span><span style="color: var(--shiki-color-text)"> </span><span style="color: var(--shiki-token-string-expression)">"\{\{UUID\}\}"</span><span style="color: var(--shiki-token-keyword)">,</span><span style="color: var(--shiki-color-text)"> [</span><span style="color: var(--shiki-token-keyword)">guid</span><span style="color: var(--shiki-color-text)">]::NewGuid().ToString() </span><span style="color: var(--shiki-token-keyword)">|</span><span style="color: var(--shiki-color-text)"> </span><span style="color: var(--shiki-token-function)">Set-Content</span><span style="color: var(--shiki-color-text)"> </span><span style="color: var(--shiki-token-keyword)">-</span><span style="color: var(--shiki-color-text)">Path </span><span style="color: var(--shiki-token-string-expression)">"environment\env.cue"</span></span>
<span></span>5. Deploy the app
The workspace.cue file contains application configurations. You can apply them to complete the setup.
<span><span style="color: var(--shiki-token-function)">tailorctl.exe</span><span style="color: var(--shiki-color-text)"> workspace apply </span><span style="color: var(--shiki-token-keyword)">-</span><span style="color: var(--shiki-color-text)">m .</span><span style="color: var(--shiki-token-keyword)">/</span><span style="color: var(--shiki-color-text)">workspace.cue</span></span>
<span></span>
6. Confirm the deployed app
Open the GraphQL Playground for the application using the following command. The GraphQL Playground allows you to run GraphQL queries to Tailor Platform services.
<span><span style="color: var(--shiki-token-comment)"># The `-n` flag specifies the application name. In this quickstart, the default name is `ims`.</span></span>
<span><span style="color: var(--shiki-token-function)">tailorctl.exe</span><span style="color: var(--shiki-color-text)"> workspace app open </span><span style="color: var(--shiki-token-keyword)">-</span><span style="color: var(--shiki-color-text)">n ims</span></span>
<span></span>
7. Get the access token to use the GraphQL API in the playground
To get an access token to use the GraphQL API in the playground, run the following command.
<span><span style="color: var(--shiki-token-function)">tailorctl.exe</span><span style="color: var(--shiki-color-text)"> workspace machineuser token </span><span style="color: var(--shiki-token-keyword)">-</span><span style="color: var(--shiki-color-text)">a ims </span><span style="color: var(--shiki-token-keyword)">-</span><span style="color: var(--shiki-color-text)">m admin</span><span style="color: var(--shiki-token-keyword)">-</span><span style="color: var(--shiki-color-text)">machine</span><span style="color: var(--shiki-token-keyword)">-</span><span style="color: var(--shiki-color-text)">user</span></span>
<span></span>
In this case, we use the admin-machine-user machine user which is predefined in this template to get the access token.
Once you get an access token, you can use it in the playground to run queries.
Please set the token in the Headers section of the playground as follows:
<span><span style="color: var(--shiki-color-text)">{</span></span>
<span><span style="color: var(--shiki-color-text)"> </span><span style="color: var(--shiki-token-keyword)">"Authorization"</span><span style="color: var(--shiki-token-punctuation)">:</span><span style="color: var(--shiki-color-text)"> </span><span style="color: var(--shiki-token-string-expression)">"bearer ${your_access_token}"</span></span>
<span><span style="color: var(--shiki-color-text)">}</span></span>
<span></span>For more detailed information about this template and to seed the initial data for your application, please refer to the README.
Further information
Congratulations on creating your first app in the Tailor Platform! Here are some next steps to help you continue learning:
- Discover Core Concepts to get an overview of Tailor Platform.
- See GraphQL basics and CUE basics if you're new to GraphQL and CUE.
- Learn more about the schema by visiting the Tailor DB page.
- Explore Tutorials as you start building your application.