Integrate QuickBooks with Tailor Platform
Overview
QuickBooks is an accounting software that provides comprehensive financial management tools, including invoicing, expense tracking, payroll processing, and financial reporting. Integrate the QuickBooks API into your applications to automate workflows and streamline financial management processes.
In this guide, we will explain how to integrate QuickBooks with Tailor Platform by leveraging the platform's powerful triggers.
Tailor Platform Triggers
You can integrate QuickBooks with Tailor Platform using triggers. Refer to executor service guide to learn about different types of triggers.
Connect Quickbooks
This integration guide will walk you through the steps to set up a connection between Tailor PF and QuickBooks.
Prerequisites
Before you begin integrating with the QuickBooks API, you'll need to:
Create an Intuit Developer account
Create a workspace
Create a new app
- Choose an app name
- Add required permissions (e.g.,
com.intuit.quickbooks.accounting)
1. Getting Your Access Token
QuickBooks uses OAuth 2.0 for API authentication. Follow these steps to get your access token:
Log in to your QuickBooks account
Select
My Hubfrom the option menu and clickPlaygroundto access the authentication testing environment
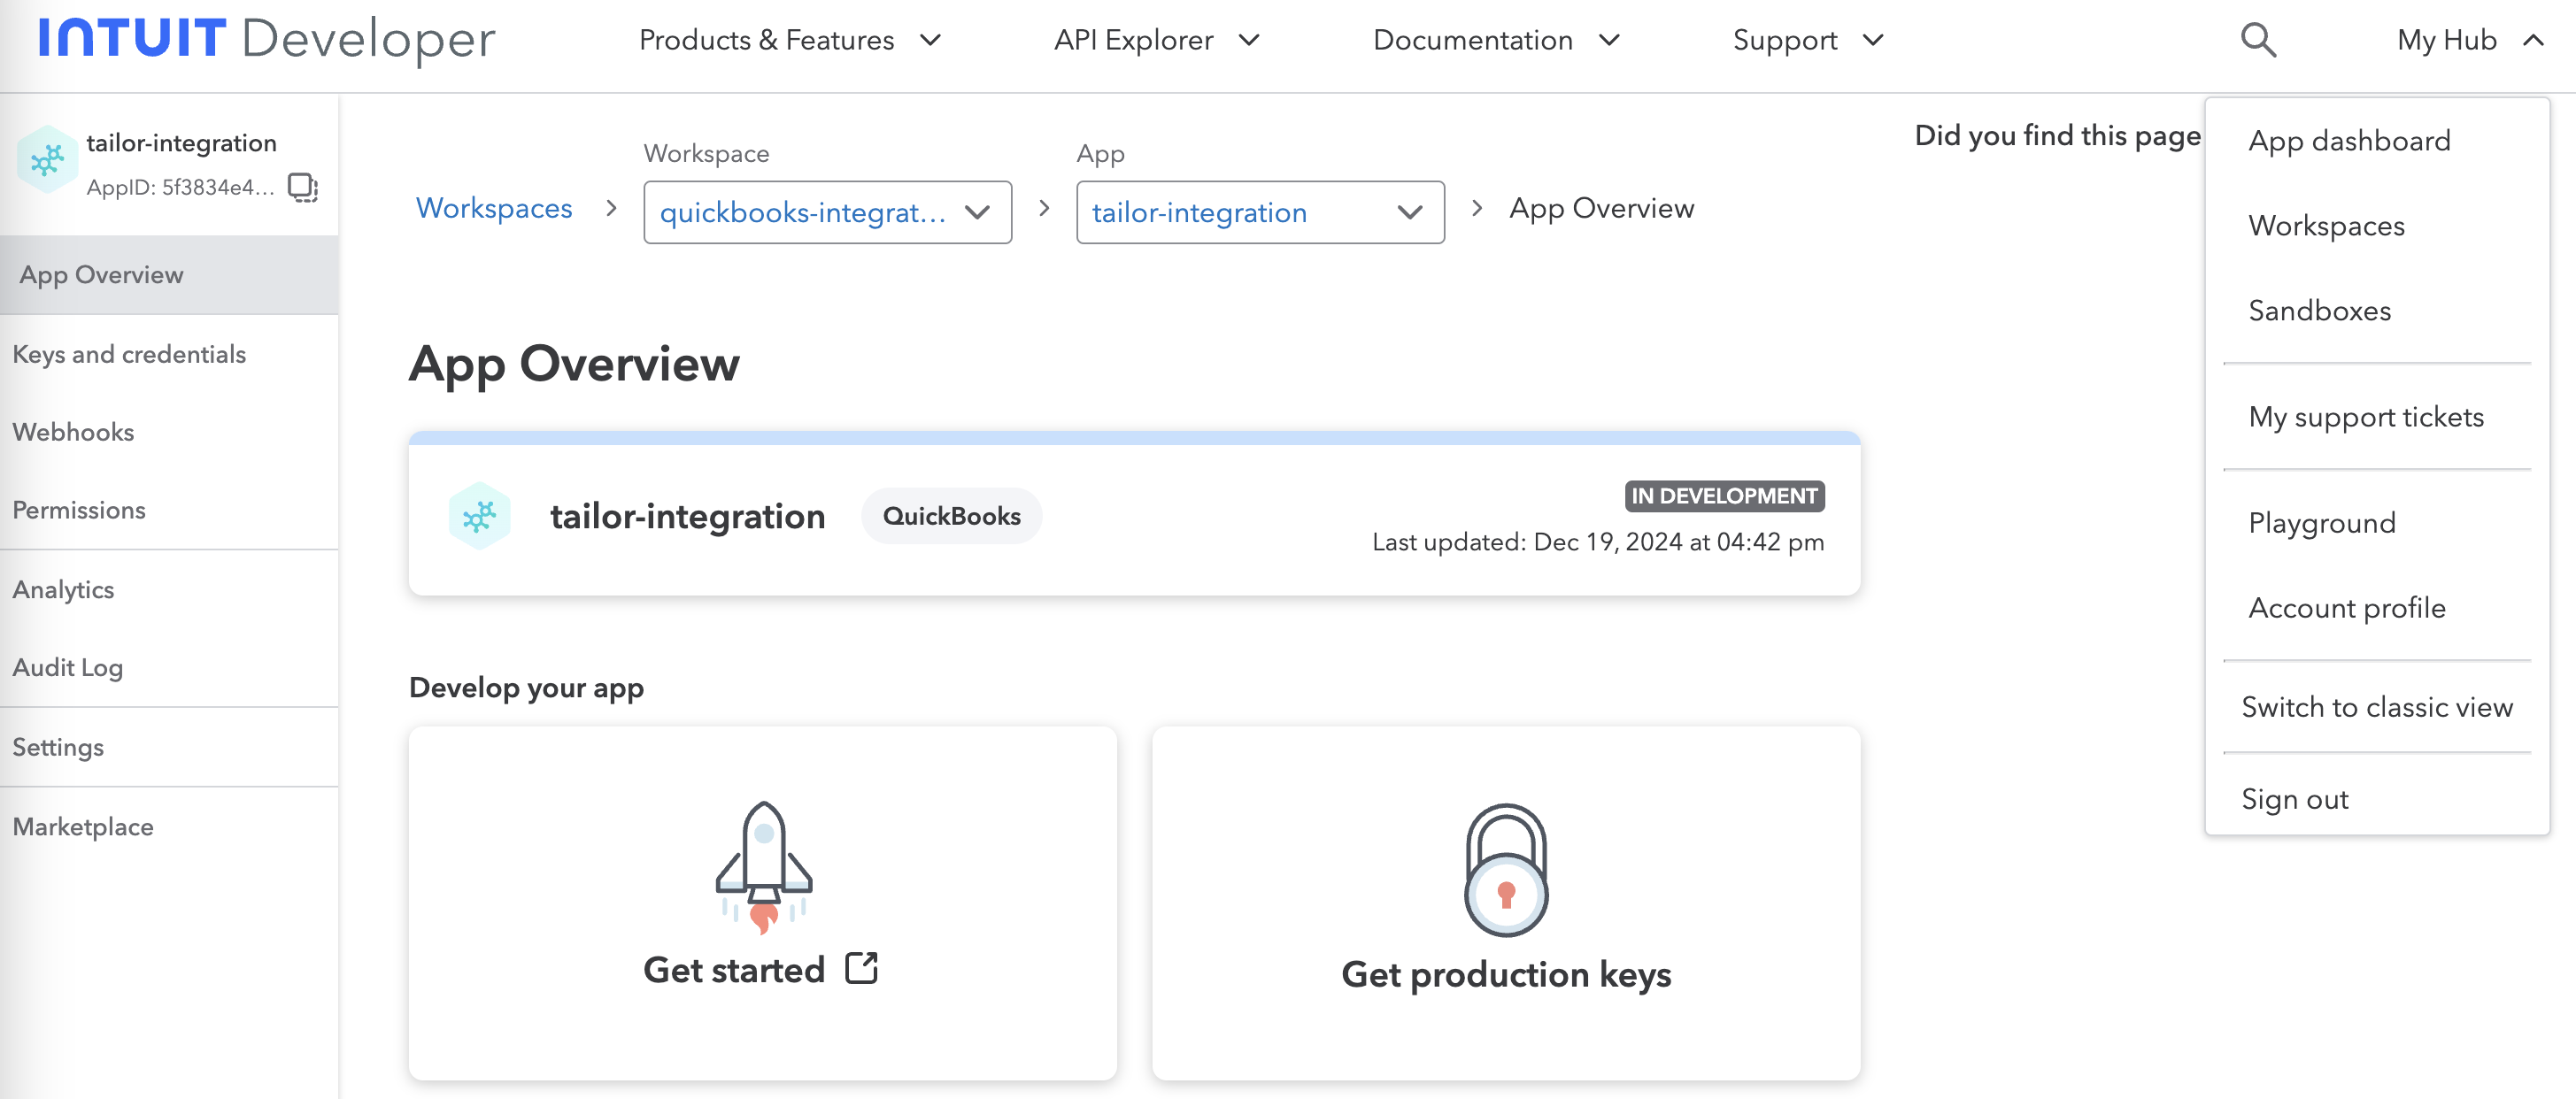
The Playground is a testing environment that helps you understand the OAuth 2.0 flow and obtain your access token.
Follow these steps in the Playground to generate your authentication credentials.
- Get Authorization Code
Select your workspace
Select your app
The Client ID and Client Secret will be automatically loaded
Configure OAuth settings:
- Select the scope com.intuit.quickbooks.accounting
Click the
Get authorization codebutton
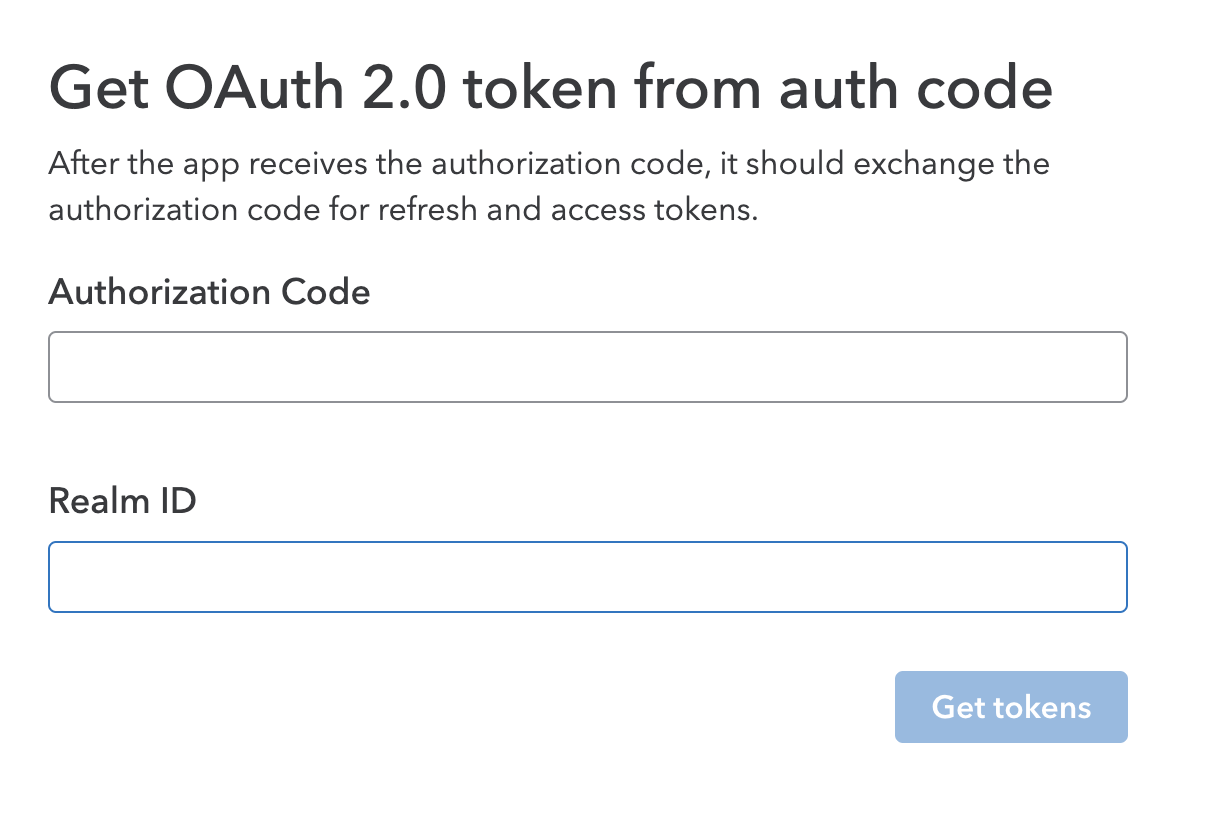
- Get OAth 2.0 token from auth code
In this section the authorization code and Realm ID will be pre-loaded automatically
Click the
Get tokensbutton
2. Store QuickBooks Credentials
Store your QuickBooks access token as a secret in the Tailor PF using one of the following methods:
Using the Tailor CLI
- Create a vault to store the API key
Run the following commands to create a vault named quickbooks-vault and to store the secret key.
tailor-sdk secret vault create quickbooks-vault
tailor-sdk secret create --vault-name quickbooks-vault --name quickbooks-key --value {$access_token}
Through the Console
- Navigate to your workspace where the app is deployed and select
settingstab to add the secret
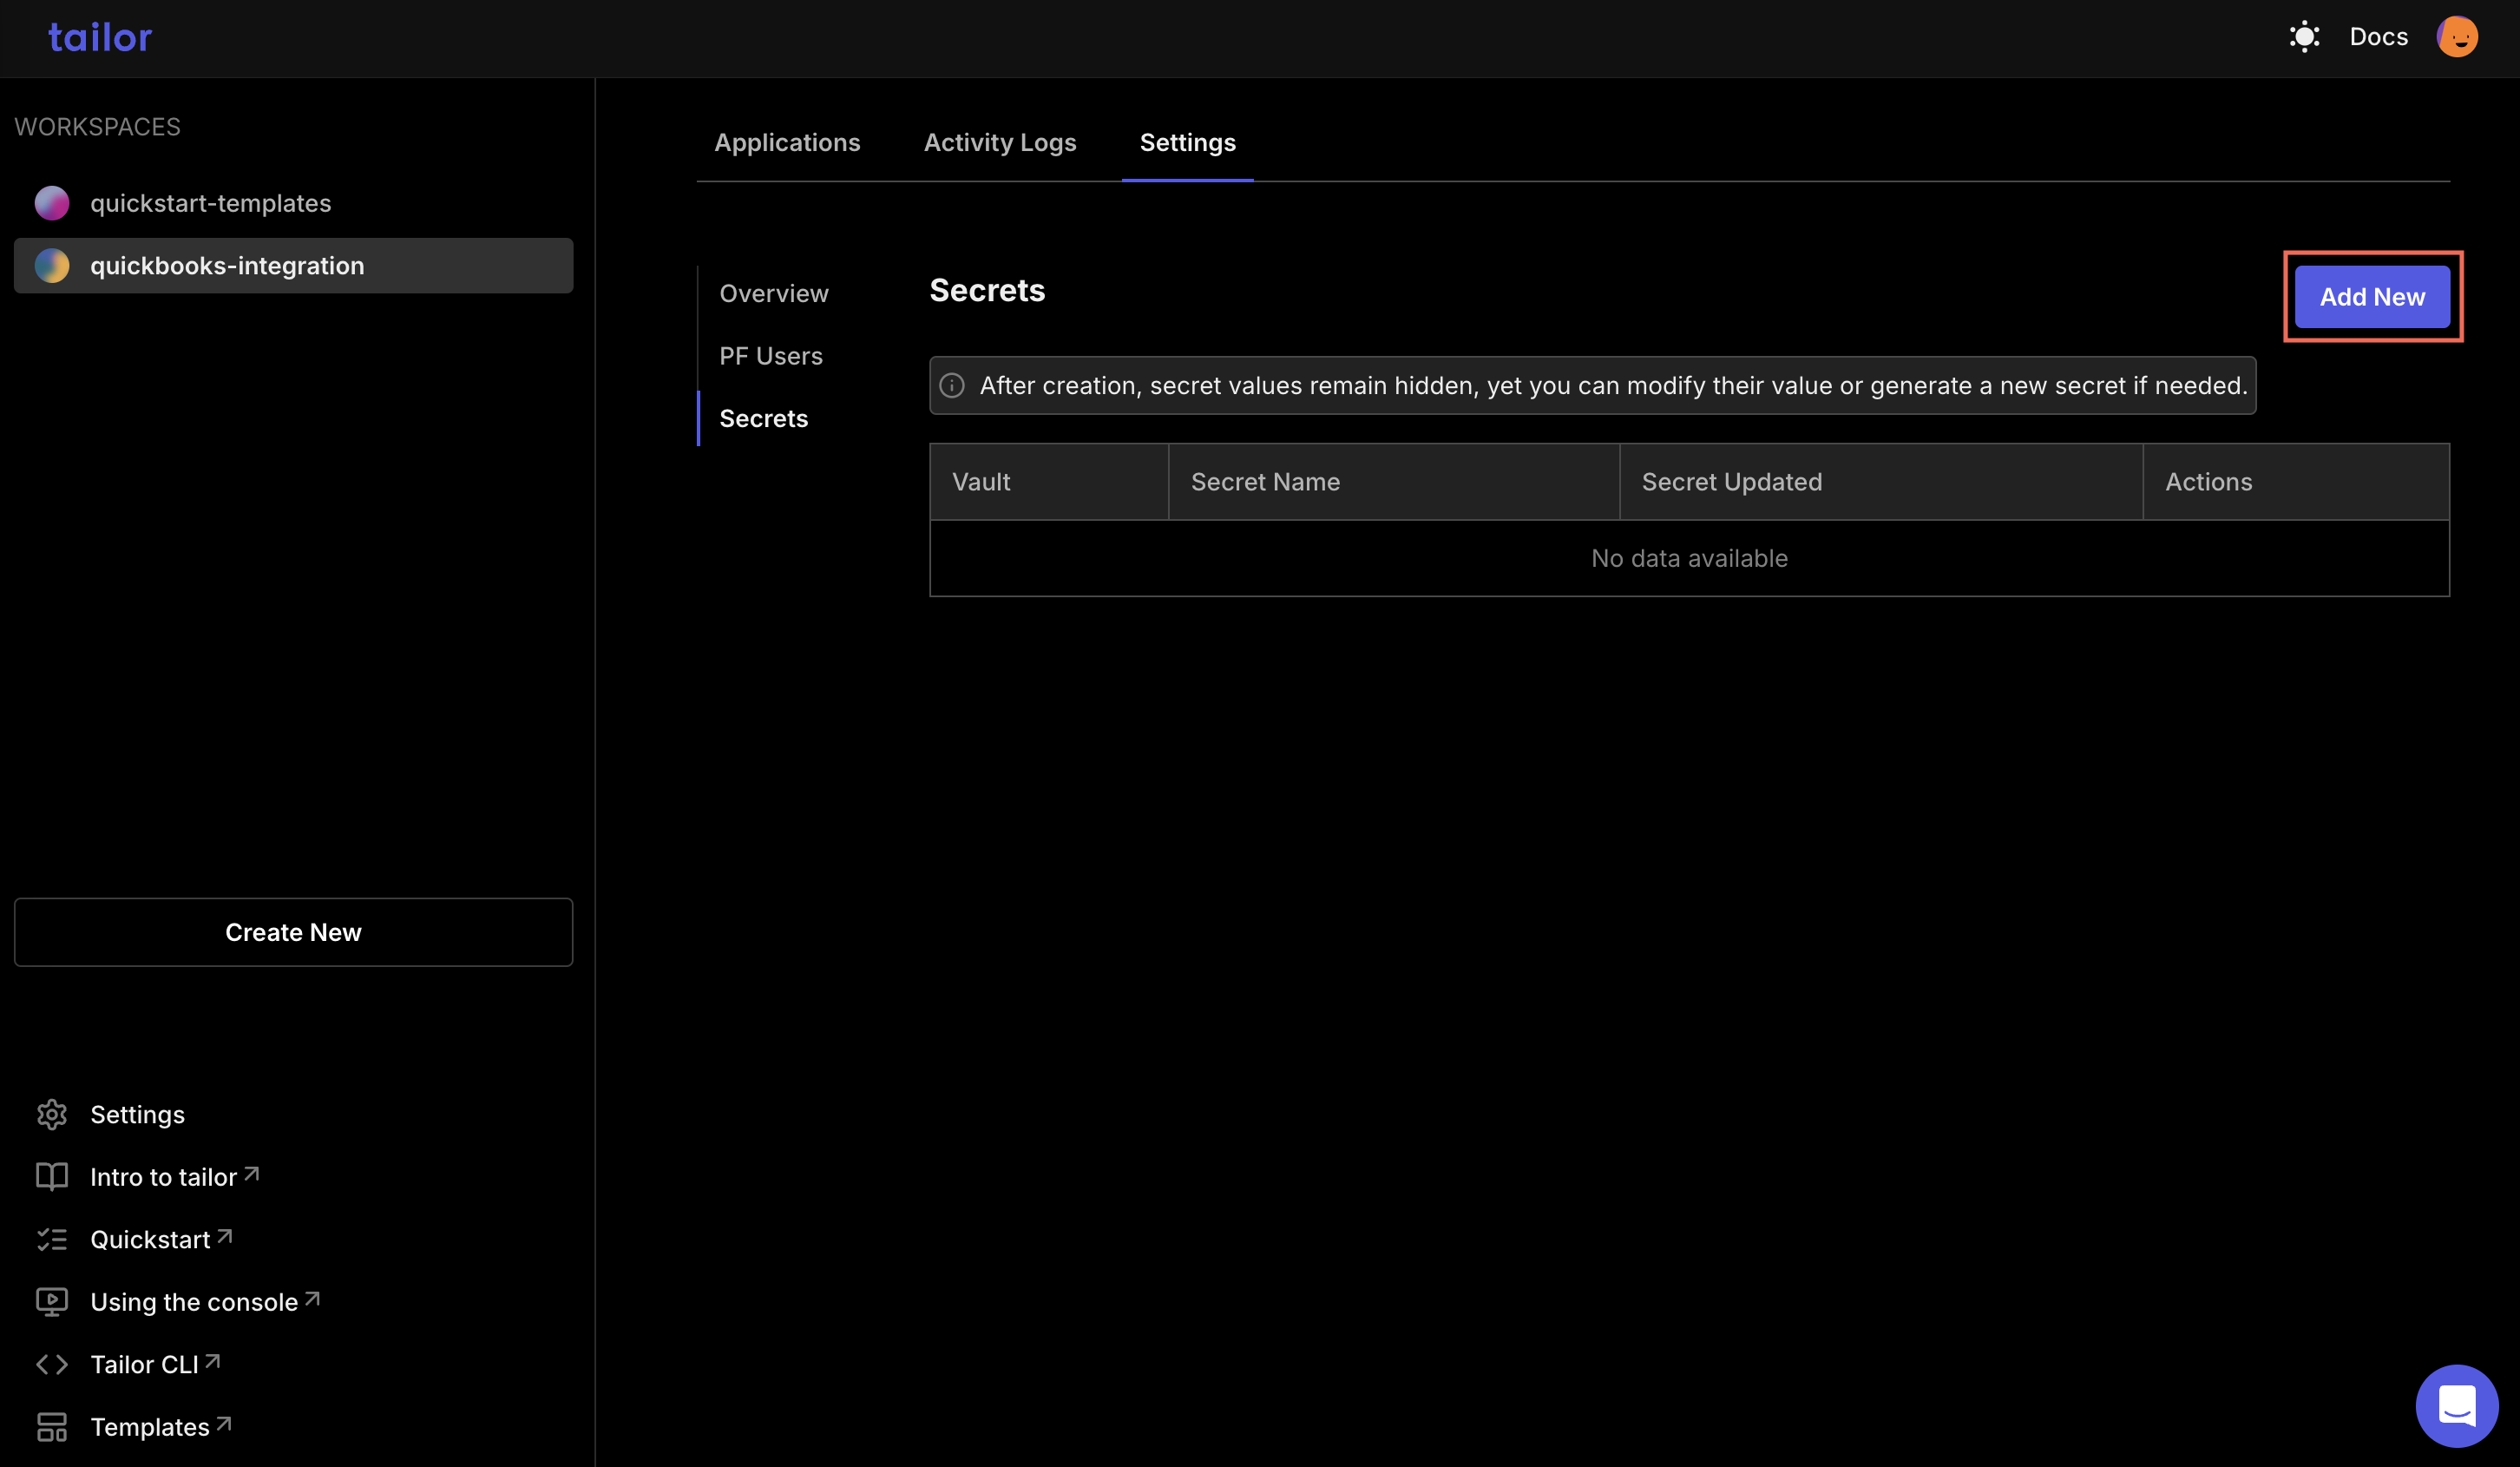
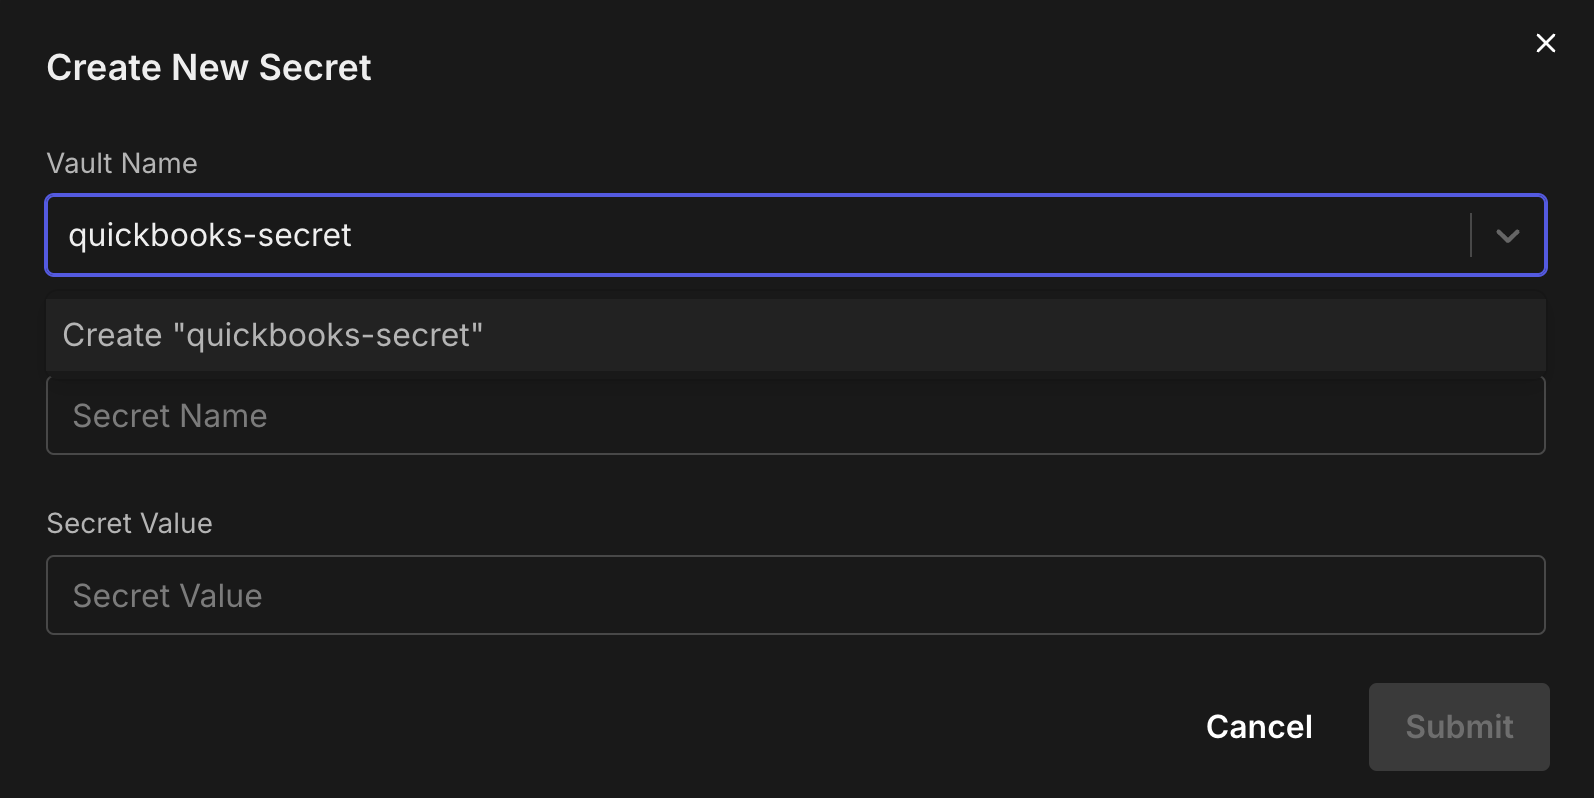
- Create a new vault and add the access token
3. Making API Requests to QuickBooks
You can call the QuickBooks APIs using triggers.
Base URL
All API requests should be made to the following base URL:
Production:
https://quickbooks.api.intuit.com/v3/company/<realmId>Sandbox:
https://sandbox-quickbooks.api.intuit.com/v3/company/<realmId>