Connecting Tailor PF App and Next.js UI: An OAuth2 Integration Guide
In this tutorial, we will walk you through the process of logging into your Tailor PF app using OAuth2 from a Next.js application, offering step-by-step instructions for seamless integration.
- Complete Quickstart first If you haven't yet built the Inventory Management System app from our template.
Tutorial steps
- Setup your Identity Provider
- Configure OAuth2 client in the Auth manifest
- Get Client credentials
- Add the callback URL in the application settings
- Create a user in the Tailor PF app and IDP
- Configure OAuth2 client in the Next.js App
1. Setup your Identity Provider
In this tutorial, we will be setting up the Identity Provider using OIDC as described here, but you can choose to set up your IDP using either OIDC or SAML.
2. Configure OAuth2 client in the Auth manifest
Add the following code in the Auth manifest to configure an OAuth2 client in the Tailor PF application.
<span><span style="color: var(--shiki-color-text)">OAuth2Clients: [</span></span>
<span><span style="color: var(--shiki-color-text)"> auth.#OAuth2Client </span><span style="color: var(--shiki-token-keyword)">&</span><span style="color: var(--shiki-color-text)"> {</span></span>
<span><span style="color: var(--shiki-color-text)"> Name: </span><span style="color: var(--shiki-color-text)">"</span><span style="color: var(--shiki-token-string-expression)">oauth2-client</span><span style="color: var(--shiki-color-text)">"</span></span>
<span><span style="color: var(--shiki-color-text)"> GrantTypes: [</span></span>
<span><span style="color: var(--shiki-color-text)"> </span><span style="color: var(--shiki-color-text)">"</span><span style="color: var(--shiki-token-string-expression)">authorization_code</span><span style="color: var(--shiki-color-text)">"</span><span style="color: var(--shiki-token-punctuation)">,</span></span>
<span><span style="color: var(--shiki-color-text)"> </span><span style="color: var(--shiki-color-text)">"</span><span style="color: var(--shiki-token-string-expression)">refresh_token</span><span style="color: var(--shiki-color-text)">"</span><span style="color: var(--shiki-token-punctuation)">,</span></span>
<span><span style="color: var(--shiki-color-text)"> ]</span></span>
<span><span style="color: var(--shiki-color-text)"> RedirectURIs: [</span></span>
<span><span style="color: var(--shiki-color-text)"> </span><span style="color: var(--shiki-color-text)">"</span><span style="color: var(--shiki-token-string-expression)">http://localhost:3000/__oauth/callback</span><span style="color: var(--shiki-color-text)">"</span><span style="color: var(--shiki-token-punctuation)">,</span></span>
<span><span style="color: var(--shiki-color-text)"> ]</span></span>
<span><span style="color: var(--shiki-color-text)"> }</span><span style="color: var(--shiki-token-punctuation)">,</span></span>
<span><span style="color: var(--shiki-color-text)">]</span></span>
<span></span>The properties of the client are defined as follows:
Name: The name of the OAuth2 client is set to "oauth2-client".
GrantTypes: An array specifying the grant types that the OAuth2 client will support. In this case, it supports:
authorization_code: Used for standard OAuth2 authorization flows.
refresh_token: Allows the client to obtain a new access token using a refresh token when the original access token expires.
RedirectURIs: Specifies the list of acceptable redirect URIs for the OAuth2 flow. Here, it's configured to redirect to http://localhost:3000/__oauth/callback, which is a route in the Next.js application that handles the OAuth2 callback after the user authorizes the application.
Apply the change using tailorctl
<span><span style="color: var(--shiki-token-function)">tailorctl</span><span style="color: var(--shiki-color-text)"> </span><span style="color: var(--shiki-token-string)">workspace</span><span style="color: var(--shiki-color-text)"> </span><span style="color: var(--shiki-token-string)">apply</span><span style="color: var(--shiki-color-text)"> </span><span style="color: var(--shiki-token-string)">-m</span><span style="color: var(--shiki-color-text)"> </span><span style="color: var(--shiki-token-string)">./workspace.cue</span></span>
<span></span>
3. Get Client credentials
Run the following command to get the client_id and client_secret.
<span><span style="color: var(--shiki-token-function)">tailorctl</span><span style="color: var(--shiki-color-text)"> </span><span style="color: var(--shiki-token-string)">workspace</span><span style="color: var(--shiki-color-text)"> </span><span style="color: var(--shiki-token-string)">oauth2client</span><span style="color: var(--shiki-color-text)"> </span><span style="color: var(--shiki-token-string)">list</span><span style="color: var(--shiki-color-text)"> </span><span style="color: var(--shiki-token-string)">-a</span><span style="color: var(--shiki-color-text)"> </span><span style="color: var(--shiki-token-keyword)"><</span><span style="color: var(--shiki-token-string)">your-app-nam</span><span style="color: var(--shiki-color-text)">e</span><span style="color: var(--shiki-token-keyword)">></span></span>
<span></span>You will get the following response with the client credentials which is used in the Next.js app for OAuth2 client configuration.
<span><span style="color: var(--shiki-token-function)">+---------------+---------------------------------------------+</span></span>
<span><span style="color: var(--shiki-token-keyword)">|</span><span style="color: var(--shiki-color-text)"> </span><span style="color: var(--shiki-token-function)">NAME</span><span style="color: var(--shiki-color-text)"> </span><span style="color: var(--shiki-token-keyword)">|</span><span style="color: var(--shiki-color-text)"> </span><span style="color: var(--shiki-token-function)">oauth2-client</span><span style="color: var(--shiki-color-text)"> </span><span style="color: var(--shiki-token-keyword)">|</span></span>
<span><span style="color: var(--shiki-token-keyword)">|</span><span style="color: var(--shiki-color-text)"> </span><span style="color: var(--shiki-token-function)">DESCRIPTION</span><span style="color: var(--shiki-color-text)"> </span><span style="color: var(--shiki-token-keyword)">|</span><span style="color: var(--shiki-color-text)"> </span><span style="color: var(--shiki-token-keyword)">|</span></span>
<span><span style="color: var(--shiki-token-keyword)">|</span><span style="color: var(--shiki-color-text)"> </span><span style="color: var(--shiki-token-function)">GRANT_TYPES</span><span style="color: var(--shiki-color-text)"> </span><span style="color: var(--shiki-token-keyword)">|</span><span style="color: var(--shiki-color-text)"> </span><span style="color: var(--shiki-token-function)">authorization_code,refresh_token</span><span style="color: var(--shiki-color-text)"> </span><span style="color: var(--shiki-token-keyword)">|</span></span>
<span><span style="color: var(--shiki-token-keyword)">|</span><span style="color: var(--shiki-color-text)"> </span><span style="color: var(--shiki-token-function)">REDIRECT_URIS</span><span style="color: var(--shiki-color-text)"> </span><span style="color: var(--shiki-token-keyword)">|</span><span style="color: var(--shiki-color-text)"> </span><span style="color: var(--shiki-token-function)">http://localhost:3000/__oauth/callback</span><span style="color: var(--shiki-color-text)"> </span><span style="color: var(--shiki-token-keyword)">|</span></span>
<span><span style="color: var(--shiki-token-keyword)">|</span><span style="color: var(--shiki-color-text)"> </span><span style="color: var(--shiki-token-function)">CLIENT_ID</span><span style="color: var(--shiki-color-text)"> </span><span style="color: var(--shiki-token-keyword)">|</span><span style="color: var(--shiki-color-text)"> </span><span style="color: var(--shiki-token-keyword)"><</span><span style="color: var(--shiki-token-function)">client_id></span><span style="color: var(--shiki-color-text)"> </span><span style="color: var(--shiki-token-keyword)">|</span></span>
<span><span style="color: var(--shiki-token-keyword)">|</span><span style="color: var(--shiki-color-text)"> </span><span style="color: var(--shiki-token-function)">CLIENT_SECRET</span><span style="color: var(--shiki-color-text)"> </span><span style="color: var(--shiki-token-keyword)">|</span><span style="color: var(--shiki-color-text)"> </span><span style="color: var(--shiki-token-keyword)"><</span><span style="color: var(--shiki-token-function)">client_secret></span><span style="color: var(--shiki-color-text)"> </span><span style="color: var(--shiki-token-keyword)">|</span></span>
<span><span style="color: var(--shiki-token-function)">+---------------+---------------------------------------------+</span></span>
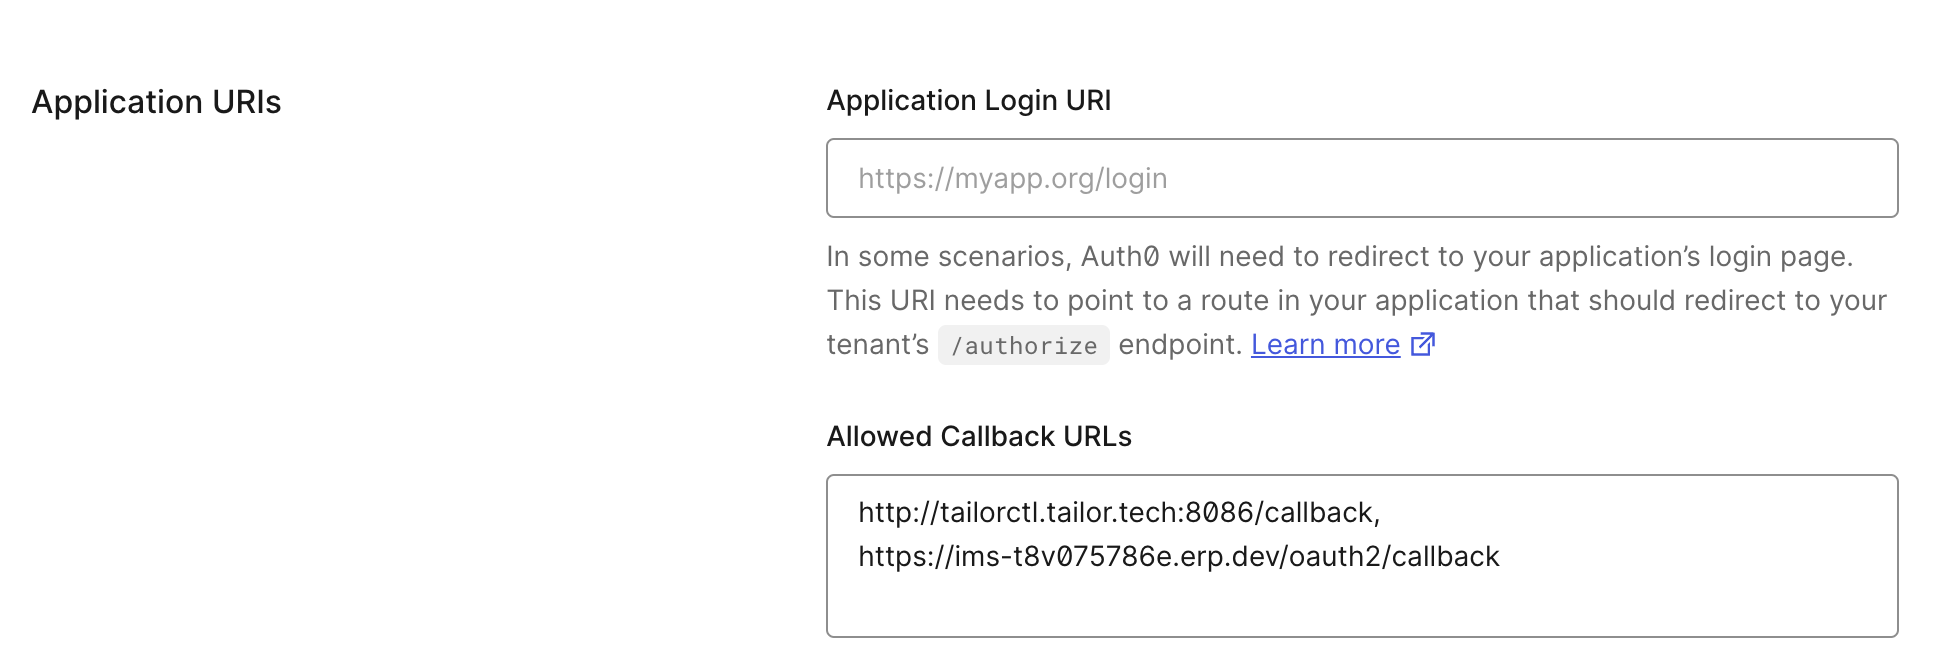
<span></span>4. Add the callback URL in the application settings
Add https://<your-tailor-pf-app-url>/oauth2/callback to Allowed Callback URLs in the Application URIs section of the Application settings.
5. Create a user in the Tailor PF app and IDP
Create your users in your application by following the steps described here
6. Configure OAuth2 client in the Next.js App
You can clone the tailor-nextjs-starter Next.js app found here to explore the configuration of an OAuth 2.0 client using the library badgateway/oatuh2-client.
For managing OAuth 2.0 clients, it is recommended to use available libraries. As an example, @badgateway/oauth2-client is used here, but other libraries can also be utilized.
Once cloned, navigate to the application directory and run the following command to install all of the necessary dependencies.
<span><span style="color: var(--shiki-token-function)">npm</span><span style="color: var(--shiki-color-text)"> </span><span style="color: var(--shiki-token-string)">i</span></span>
<span></span>
Run the following command to start the application.
<span><span style="color: var(--shiki-token-function)">npm</span><span style="color: var(--shiki-color-text)"> </span><span style="color: var(--shiki-token-string)">run</span><span style="color: var(--shiki-color-text)"> </span><span style="color: var(--shiki-token-string)">dev</span></span>
<span></span>
When you visit http://localhost:3000/ in your browser you should now see the below screen:
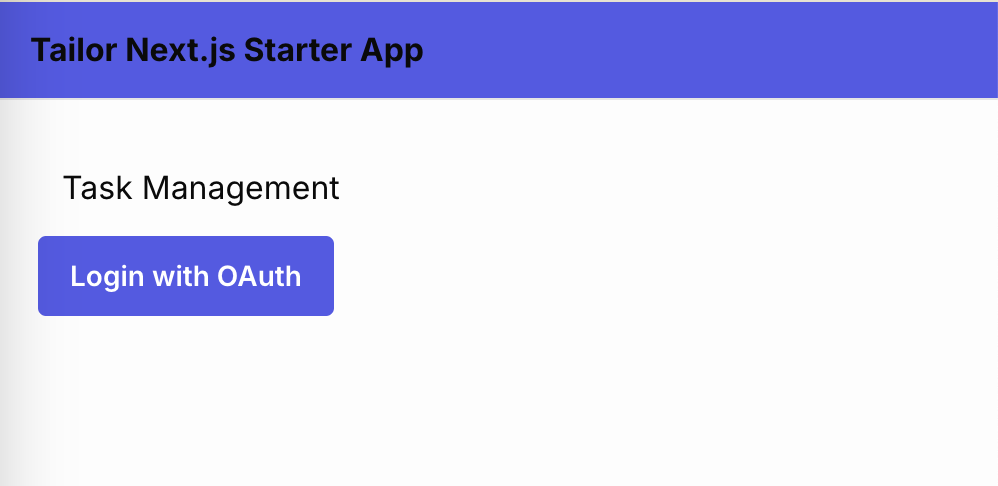
Clicking on the Login with OAuth button will redirect to Auth0 for authentication. Log in with your crendentials.
To handle the redirectUri, it is recommended to use Next.js middleware rather than directly specifying a redirection destination. This approach ensures that the ID token from the IDP can be processed securely without exposure.
In this example, the Next.js middleware is configured to handle redirects at /__oauth/callback. You can specify the final redirect destination here.