Set up your Identity Provider
The Auth service works with an identity provider (IdP) to authenticate users.
Prerequisite
- Complete Quickstart first If you haven't yet built the Inventory Management System app from our template.
- See Core concepts to get an overview of Workspace, Organization, Application and Service.
Before configuring the Auth service for authentication, you need to set up an identity provider.
The Tailor Platform supports several Identity Providers. For detailed setup guides specific to each provider, see:
- Okta Integration Guide - Enterprise-grade identity management
- Auth0 Integration Guide - Flexible identity platform
- Google Workspace Integration Guide - Google's productivity platform (coming soon)
In this tutorial, we'll use Auth0 as an example of an identity provider. If you don't have an Auth0 account, sign up for a free account at Auth0.
After creating the account, configure Auth0 with your preferred authentication protocol, as outlined below, to register your IdP with the Auth service.
- Setting up IdP for OIDC
- Setting up IdP for SAML
- Setting up IdP for ID Token
1. Setting up IdP for OIDC
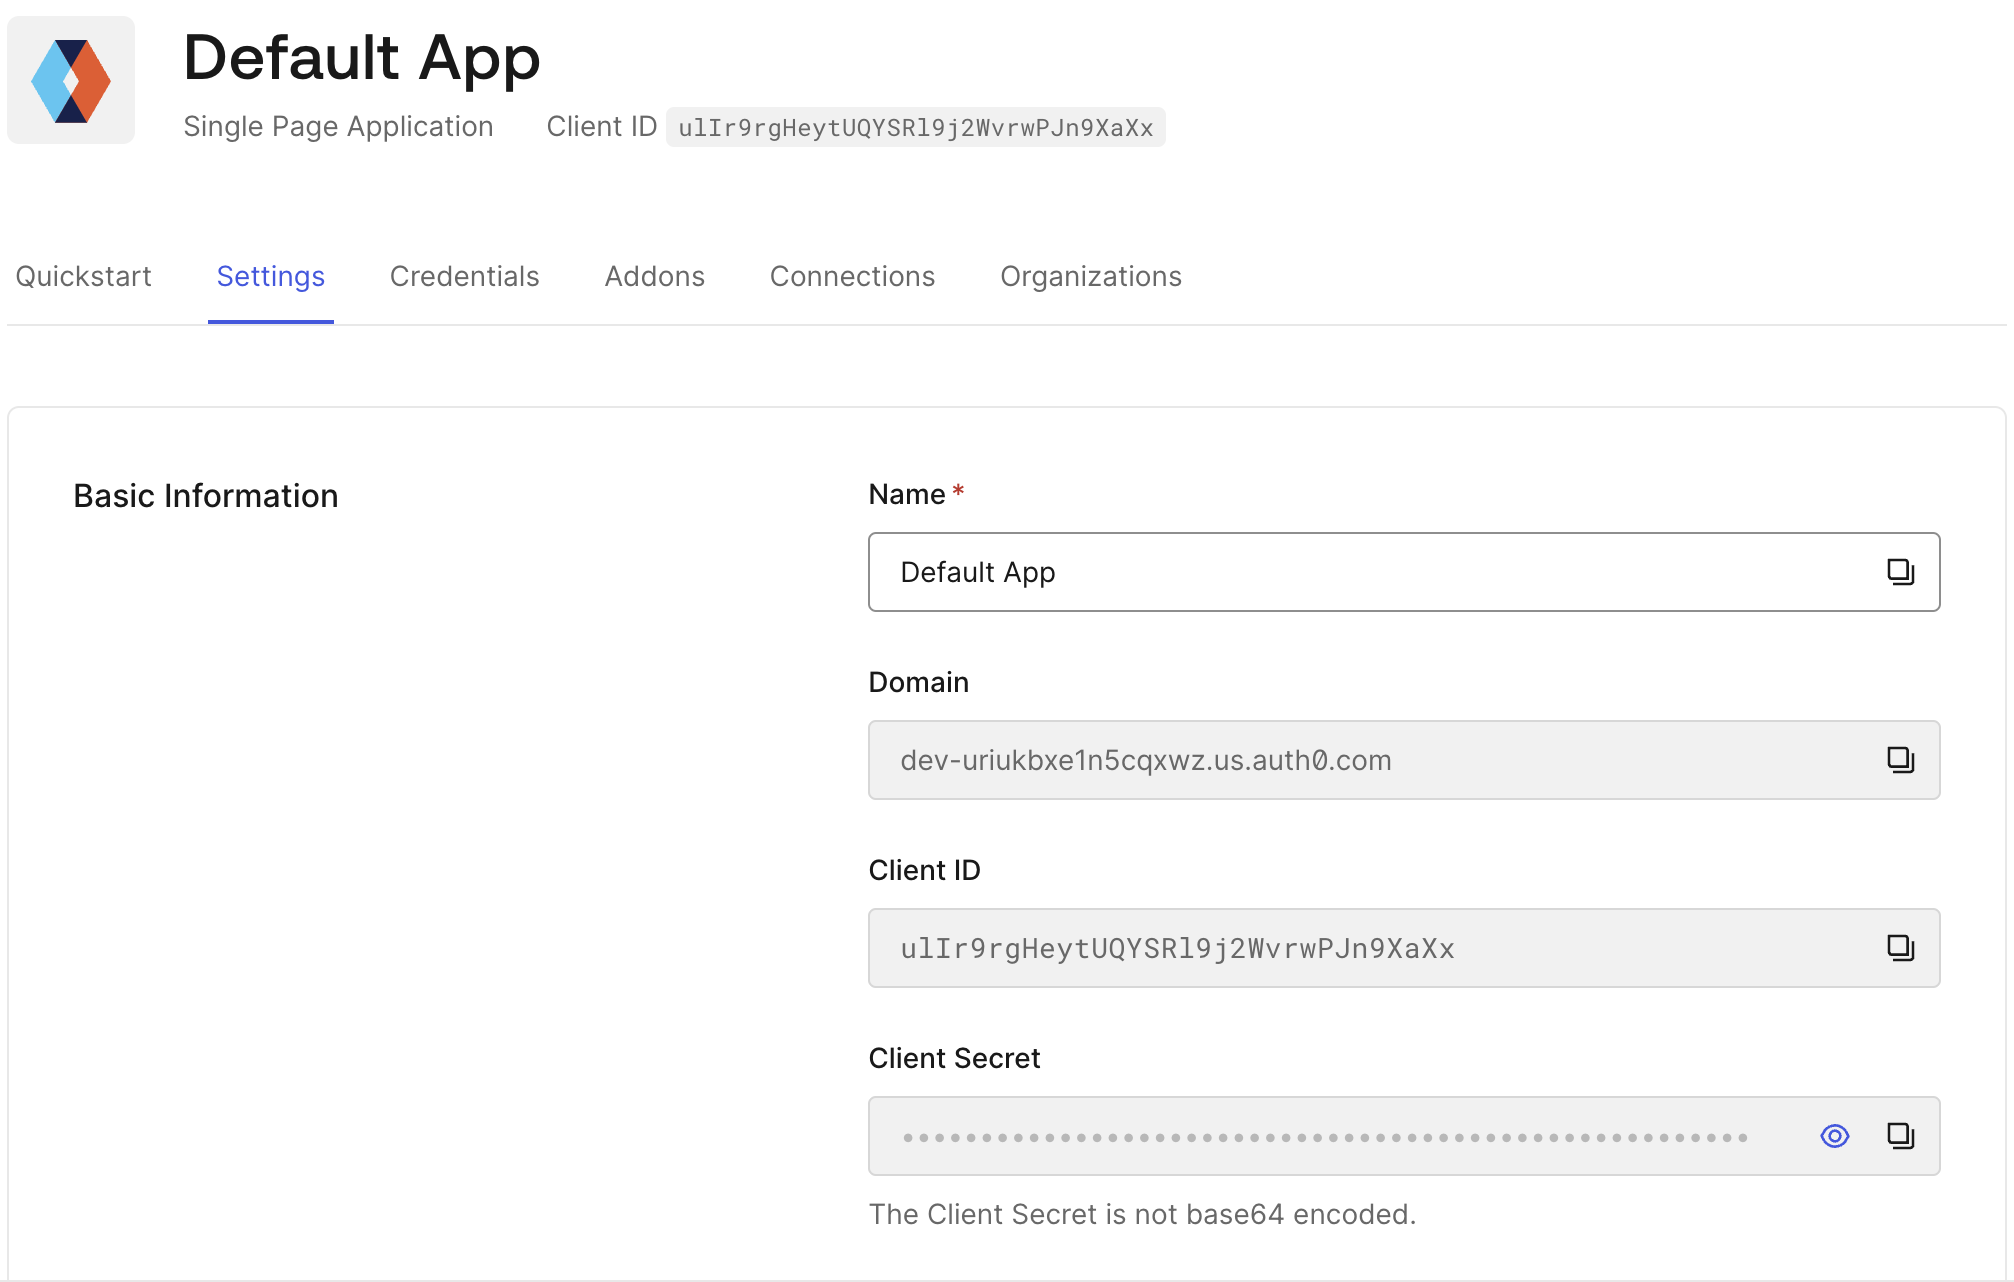
In the Auth0 Dashboard, locate your application's domain, client ID, and client secret in the Application settings.
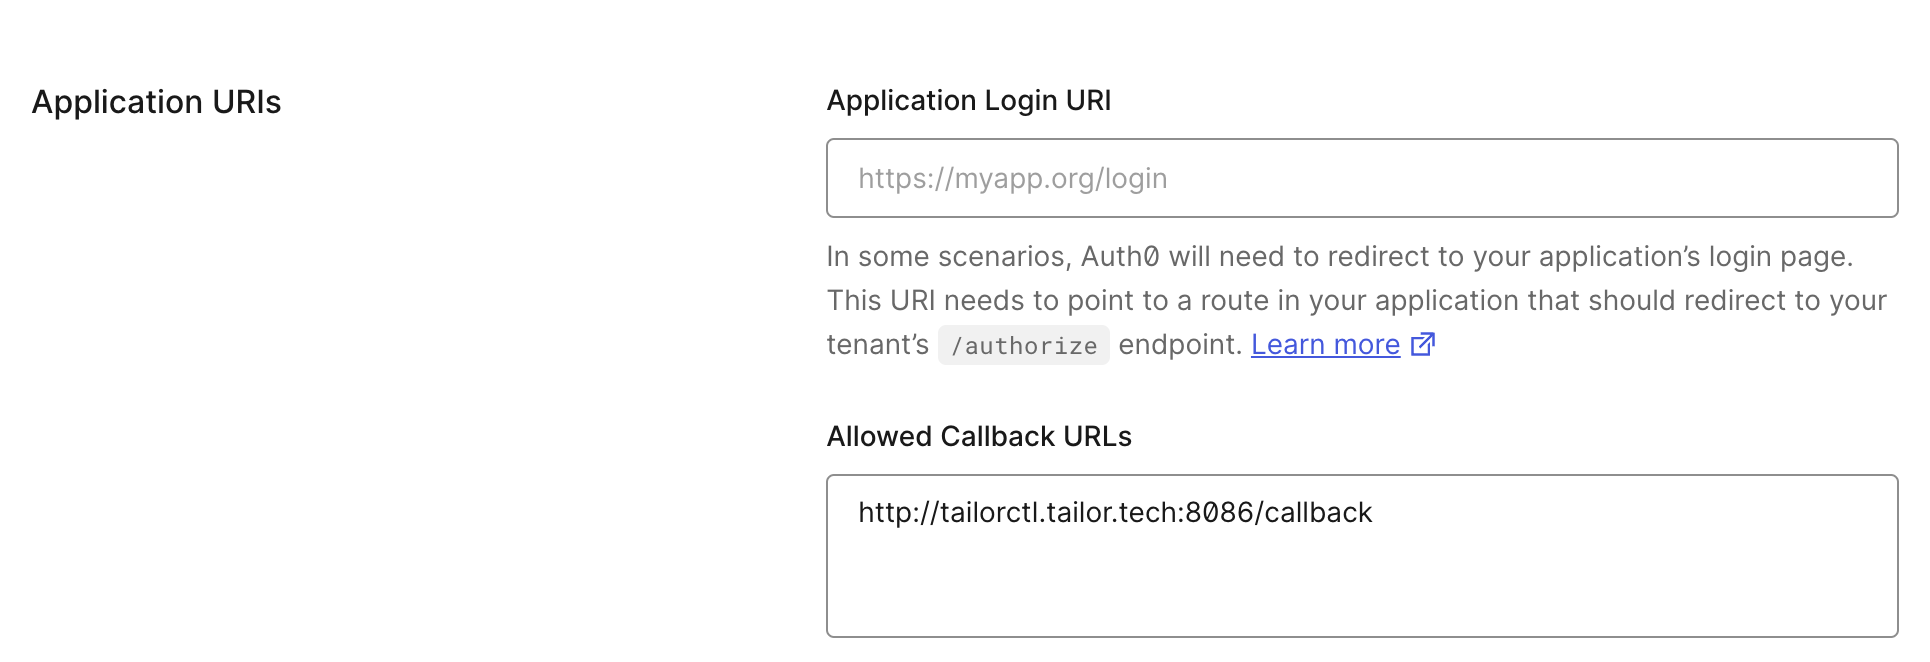
Add http://tailorctl.tailor.tech:8086/callback to Allowed Callback URLs in the Application URIs section of the settings.
2. Setting up IdP for SAML
In the Auth0 Dashboard, navigate to Applications and select your application. Select Addons tab to enable SAML2 WEB APP.
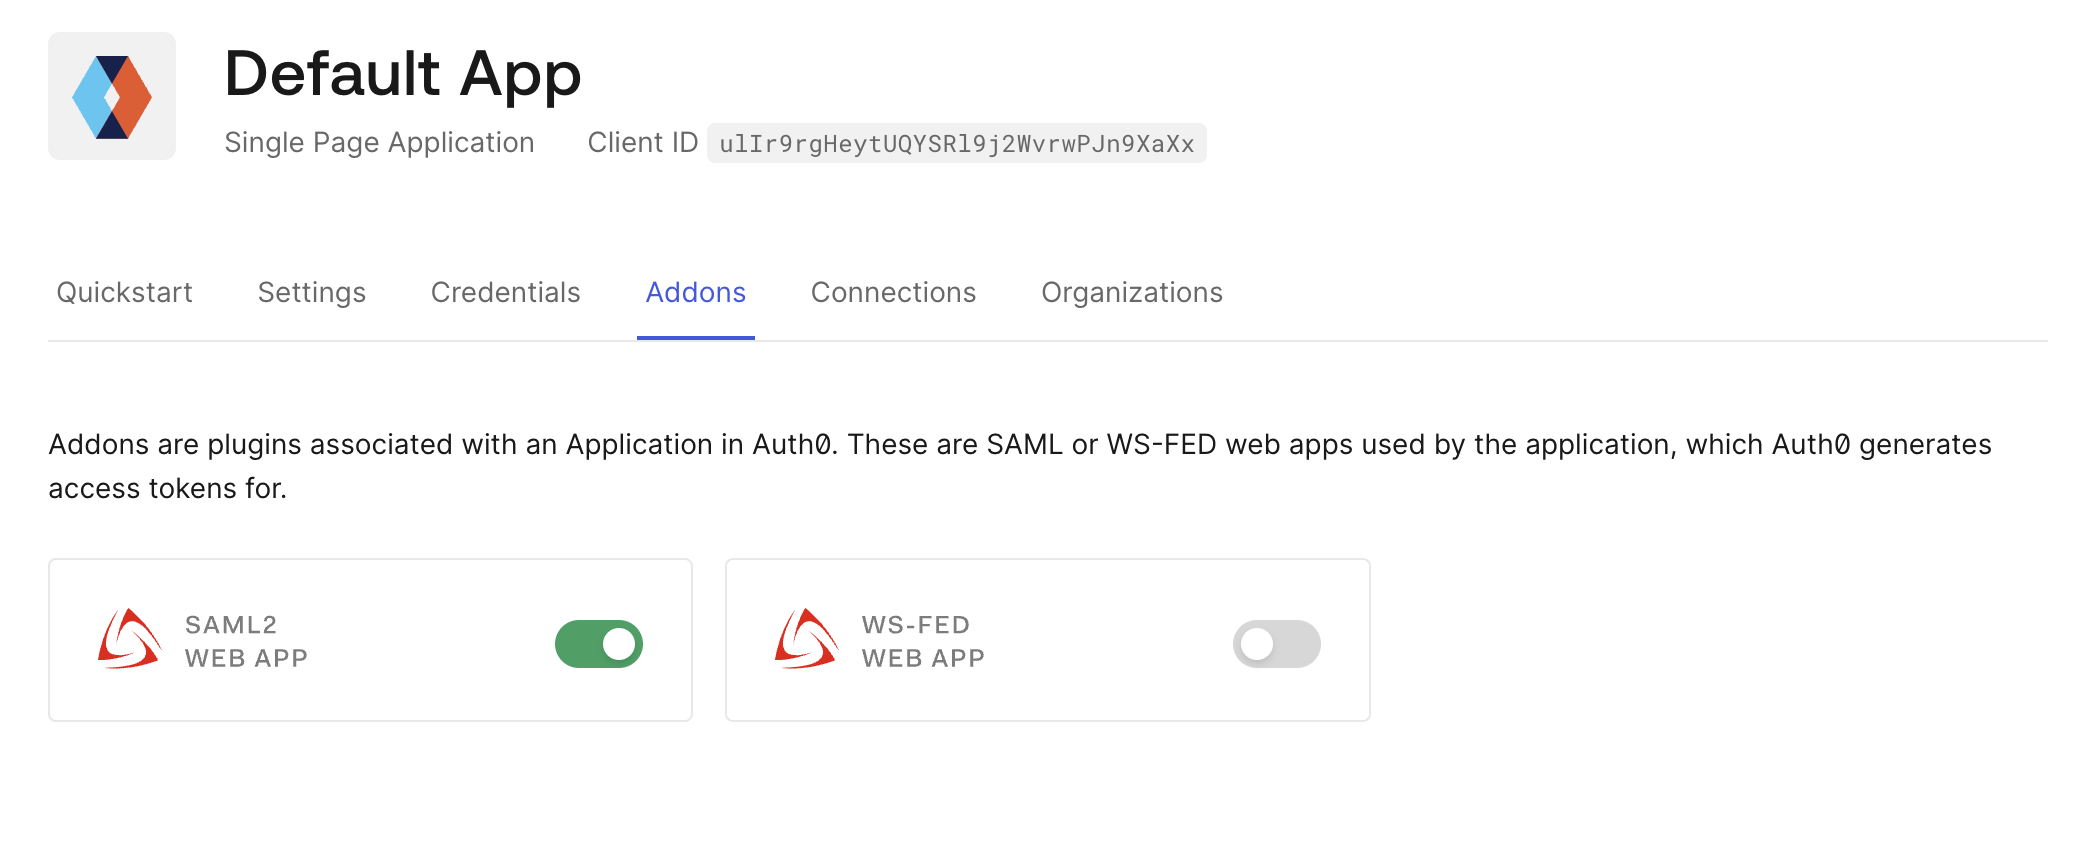
After enabling the SAML2 WEB APP in Auth0:
-
Click the addon and open the Settings tab.
-
Set the
Application Callback URL:
https://api.tailor.tech/saml/acs
Enter the following setting in the Settings section. Here, we are using an email address as a user identifier.
You can update the settings to use a different identifier. The audience field corresponds to the EntityID expected by the Tailor Platform in SAML assertions.
Scroll to the bottom of the tab and save the settings.
<span><span style="color: var(--shiki-color-text)">{</span></span>
<span><span style="color: var(--shiki-color-text)"> </span><span style="color: var(--shiki-token-keyword)">"audience"</span><span style="color: var(--shiki-token-punctuation)">:</span><span style="color: var(--shiki-color-text)"> </span><span style="color: var(--shiki-token-string-expression)">"https://api.tailor.tech/saml/{workspace_id}/{auth_namespace}/metadata.xml"</span><span style="color: var(--shiki-token-punctuation)">,</span><span style="color: var(--shiki-color-text)"> </span><span style="color: var(--shiki-token-comment)">// EntityID for Tailor Platform</span></span>
<span><span style="color: var(--shiki-color-text)"> </span><span style="color: var(--shiki-token-keyword)">"nameIdentifierFormat"</span><span style="color: var(--shiki-token-punctuation)">:</span><span style="color: var(--shiki-color-text)"> </span><span style="color: var(--shiki-token-string-expression)">"urn:oasis:names:tc:SAML:1.1:nameid-format:emailAddress"</span><span style="color: var(--shiki-token-punctuation)">,</span></span>
<span><span style="color: var(--shiki-color-text)"> </span><span style="color: var(--shiki-token-keyword)">"nameIdentifierProbes"</span><span style="color: var(--shiki-token-punctuation)">:</span><span style="color: var(--shiki-color-text)"> [</span></span>
<span><span style="color: var(--shiki-color-text)"> </span><span style="color: var(--shiki-token-string-expression)">"http://schemas.xmlsoap.org/ws/2005/05/identity/claims/emailaddress"</span></span>
<span><span style="color: var(--shiki-color-text)"> ]</span></span>
<span><span style="color: var(--shiki-color-text)">}</span></span>
<span></span>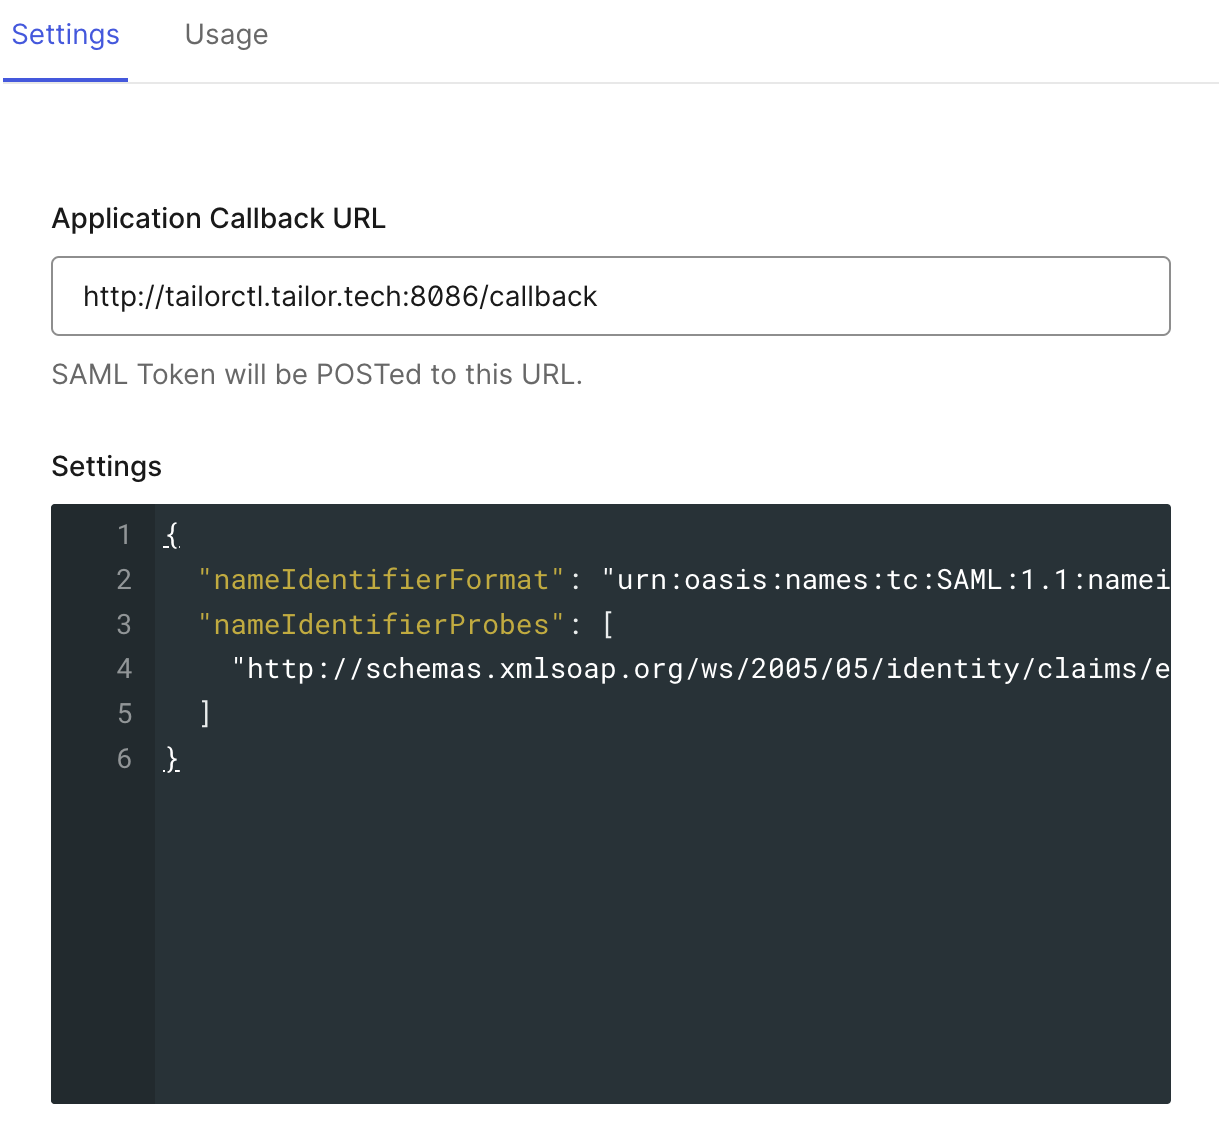
SAML Endpoints for Tailor Platform
The EntityID uniquely identifies the Tailor Platform as a Service Provider (SP) in the SAML authentication flow. When configuring your Identity Provider, you need to specify the EntityID that corresponds to your Tailor Platform application.
Your Identity Provider (IdP) sends SAML assertions to the ACS URL after successful authentication. This URL must be configured in your IdP to match the callback URL expected by Tailor Platform.
Configure the following values in the Auth0 SAML addon settings:
| Parameter | Value |
|---|---|
| EntityID | https://api.tailor.tech/saml/{workspace_id}/{auth_namespace}/metadata.xml |
| ACS URL | https://api.tailor.tech/saml/acs |
| NameID Format | urn:oasis:names:tc:SAML:1.1:nameid-format:emailAddress |
| Binding | HTTP-POST |
The ACS URL must match exactly what you configure in your Tailor Platform Auth service. Any mismatch will result in authentication failures.
3. Setting up IdP for ID Token
In the Auth0 Dashboard, locate your application's domain, client ID and client secret in the Application settings.

Add http://tailorctl.tailor.tech:8086/callback to Allowed Callback URLs in the Application URIs section of the settings.

(Optional) Below are the steps to enable Password Grant exchanges.
These steps are optional. They are configured to allow easy acquisition of ID Tokens using the Password grant type.
- Configure tenant
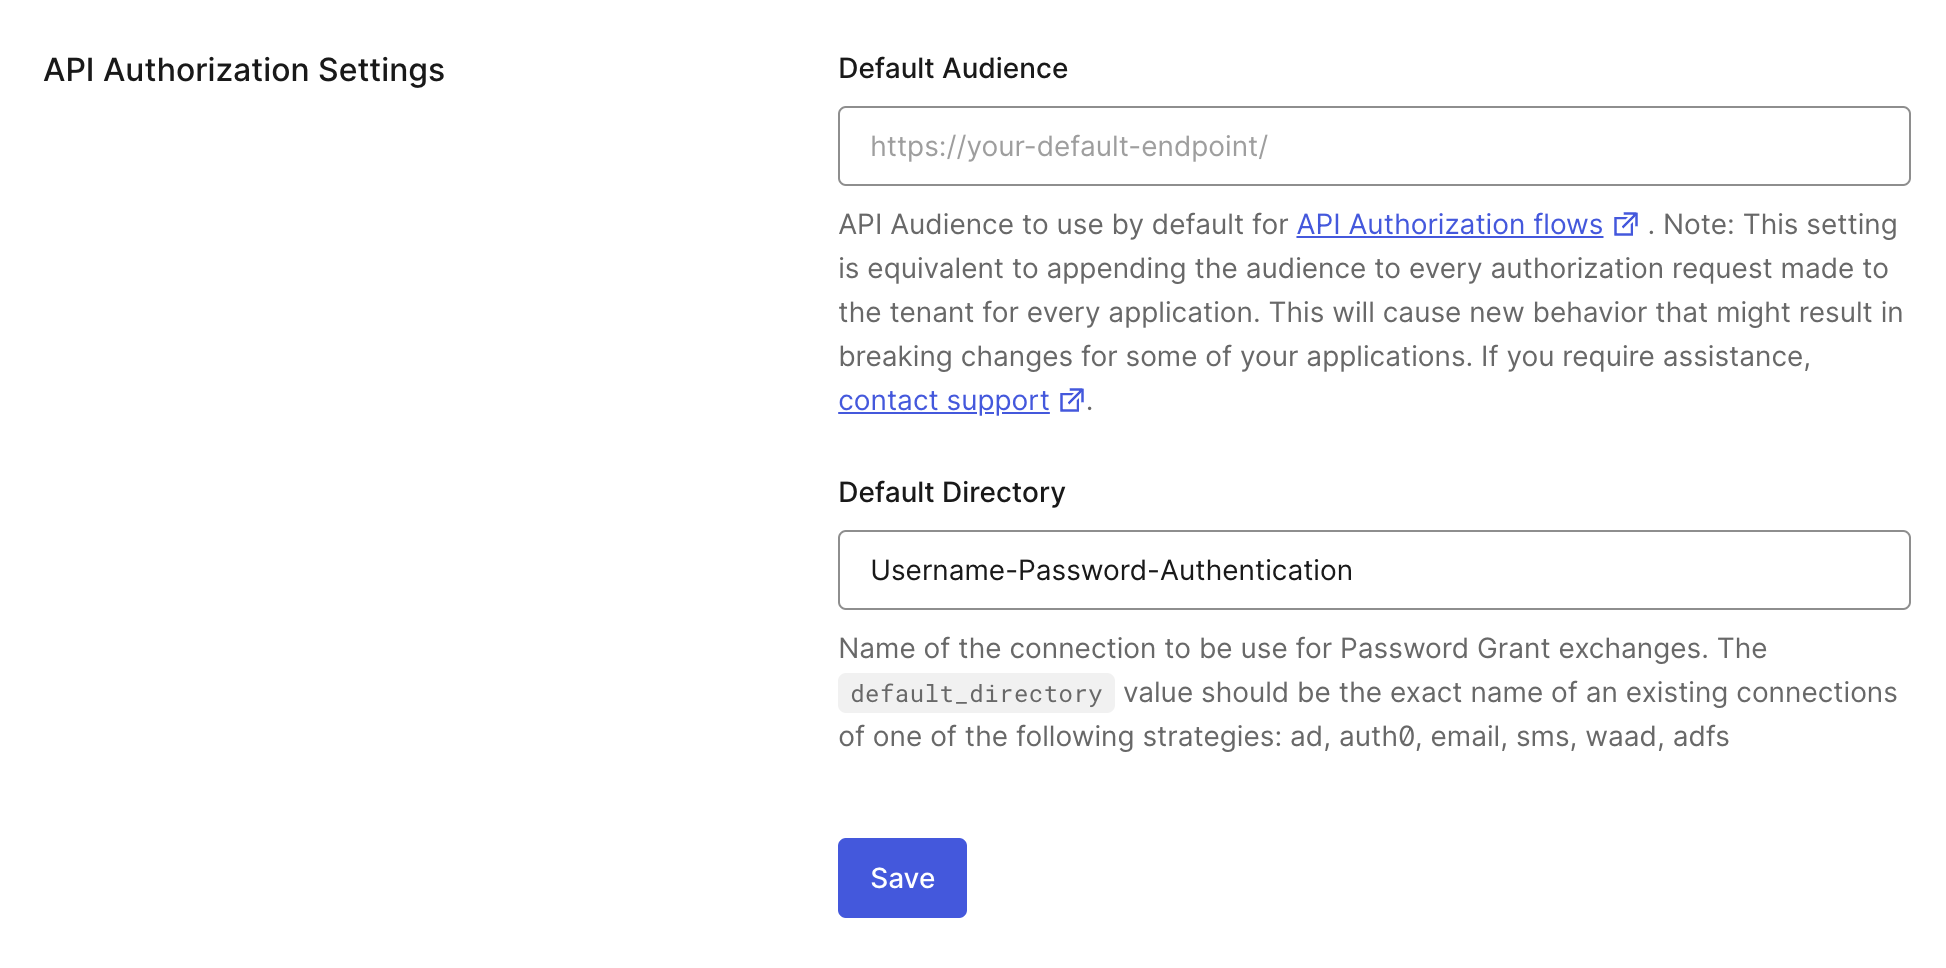
In the Auth0 dashboard, select Settings from the navigation and locate API Authorization Settings in the General tab.
Scroll down to locate the Default Directory setting and enter Username-Password-Authentication.
- Update
Grant Types
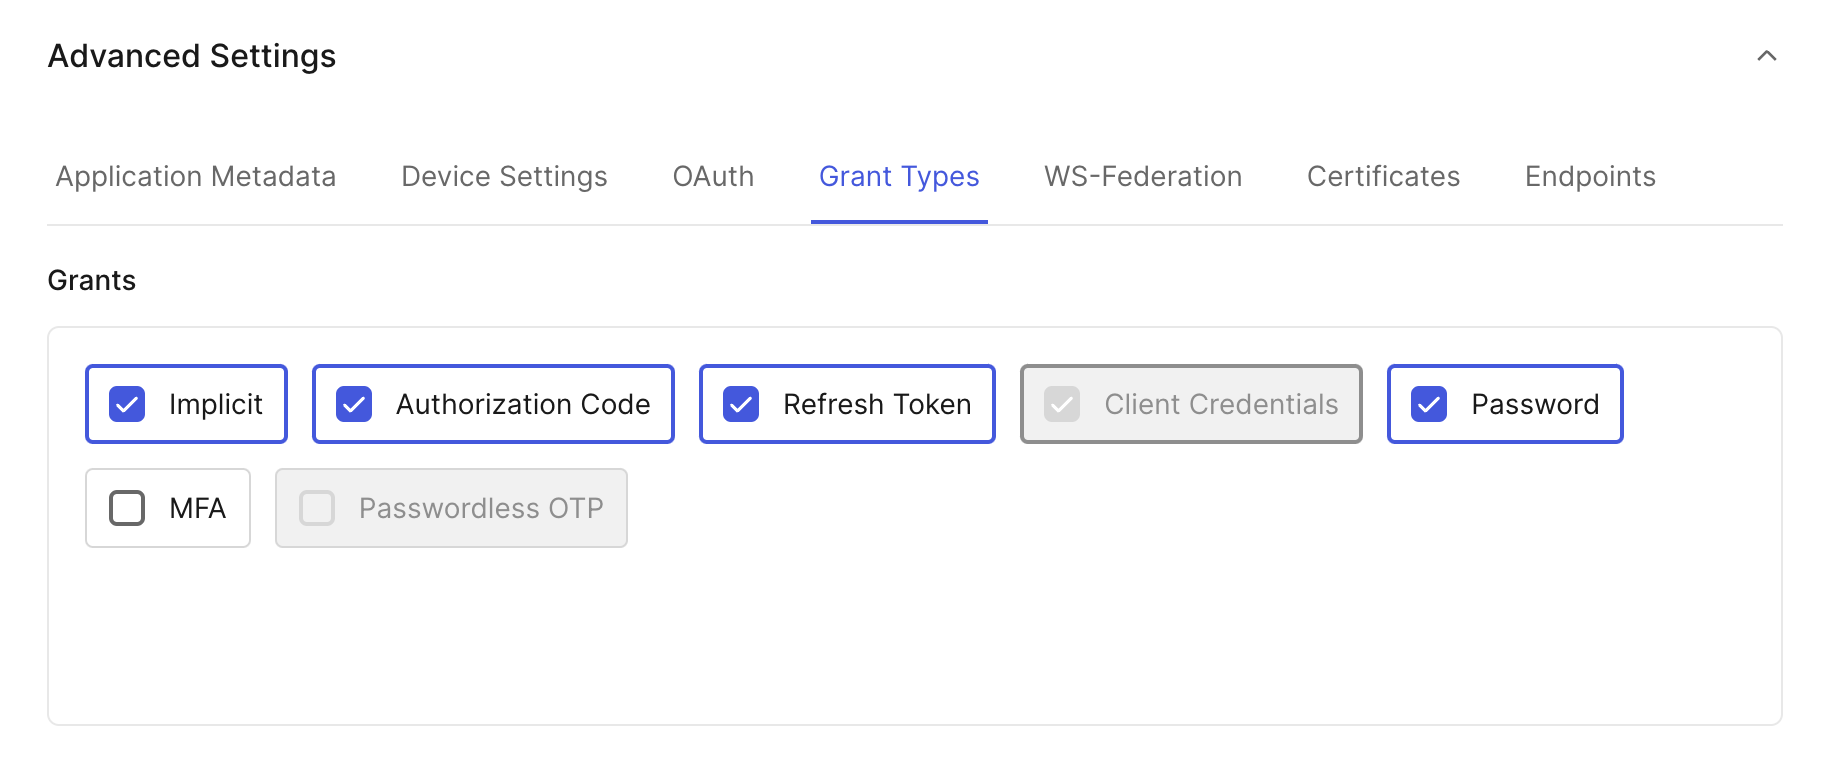
Select your application from the Applications section, then navigate to the Settings tab, and scroll down to find Advanced Settings.
In the Advanced Settings, navigate to the Grant Types tab and check the box next to Password to enable the Password grant type.
Next, copy your API Identifier by selecting APIs under Applications from the navigation menu.

Next steps
After configuring the IdP with your preferred authentication protocol, you are ready to register it with the Auth service.